Skip to content

Your first balcony solar installation

A balcony installation is four purchases, and three of them are decided by the first. Here is the order they have to happen in, and the one figure that settles each.

The order matters more than the choices

Four purchases, and three of them depend on the first.

The kit decides the panel dimensions. The panel dimensions decide the mount. The distance from the panel to the socket decides the cable. And the meter is the only one you can buy at any point — though buying it first tells you what you were using before, which is the number the whole exercise is measured against.

1. The kit, or the panels and inverter

A balcony kit is modules plus a micro-inverter plus the cable between them. Sometimes a mount, often not, and the individual page says which.

What to check: the inverter output, the module count, and whether a mount is included. Two kits at the same price can differ by a complete mounting system.

2. The micro-inverter, if it is not in the kit

One inverter per panel or per pair. A shaded module drops only its own output instead of dragging a string down, and the high-voltage direct current run disappears entirely — which is what made plug-in installations feasible in the first place.

What to check: the input window per channel, the output ceiling, and the grid standard it declares.

3. The mount

Now, and not before. The panel dimensions are known at this point and they are the whole compatibility question.

For a railing: the hook opening, measured against the railing profile with a tape. For a flat roof: whether it is ballasted or drilled, and how much ballast it takes.

Across every mount in this catalogue, none publishes a wind load. That is worth knowing and it is not a reason to pick one over another — it is a reason to ask the seller.

4. The cable

Measured, not estimated. From where the panel actually ends up to where the socket actually is, with slack for the route round the door frame.

Certified cable — H1Z2Z2-K to EN 50618 — costs a little more and is specified for the ultraviolet a balcony run gets.

5. The meter

The one purchase that tells you whether any of this worked.

A plug-in meter that measures feed-in as well as consumption is the one that suits a balcony installation; an ordinary one measures the wrong direction and reports nothing useful.

What this guide does not decide

Whether you may install it, and at what power. That is set by the grid rules and the building rules where you are, and no product page — including these — is the authority on it.
The picks, and why each one is here

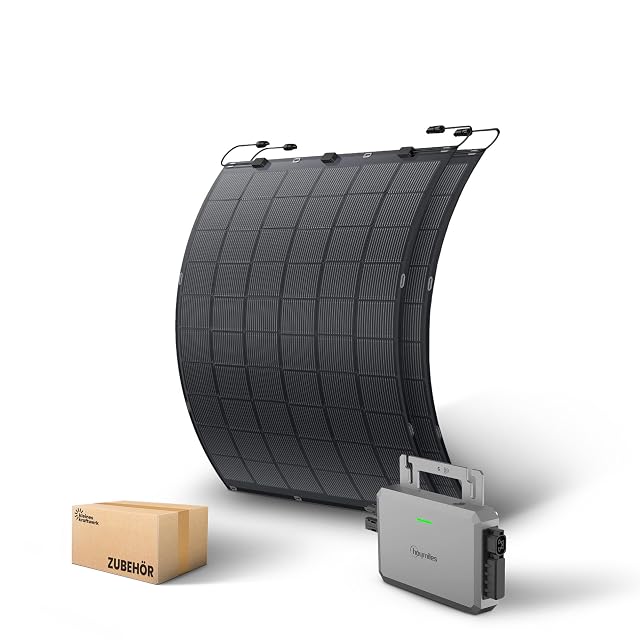
  1. Kleines Kraftwerk 450 Wp flexible kit, 2 × 225 W, with an 800 W inverter

    2 × 225 W flexible, 115.9 × 100.9 × 0.3 cm each · 800 W micro-inverter · cap not stated · 5 m connection cable, socket type not named · metal cable ties supplied, no drilling · app-readable inverter · registration duties not stated

    A 450 Wp flexible balcony kit with two ultra-thin modules fixed by metal cable ties rather than brackets, and an 800 W micro-inverter readable from an application.

    Best for: A rented balcony with an unusual shape, where nothing may be drilled and the fixings have to come in the box.

    ≈ €299

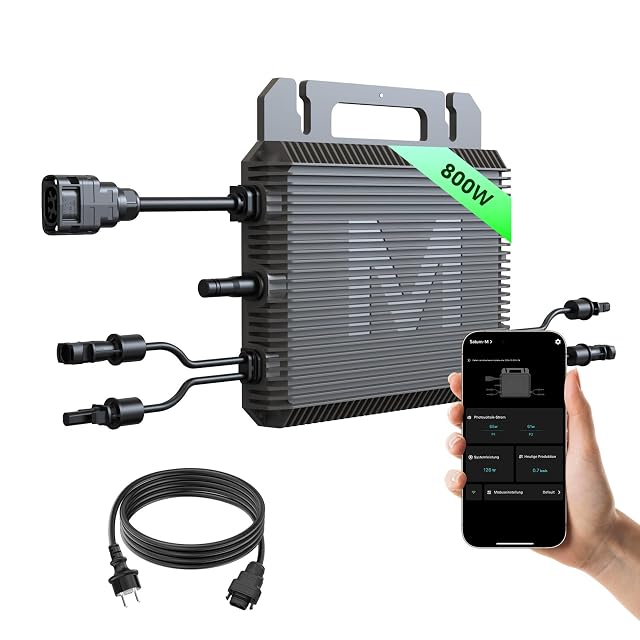
  2. MARSTEK 800 W micro-inverter, 2026 revision

    800 W · 2 MPPT inputs · limits not published · MPPT efficiency 99.8 %, peak 96.5 % · grid standard not named · monitoring not described · IP67 · MC4 plug and play

    An 800 W micro-inverter with two independent MPPT channels quoted at 99.8 % tracking efficiency and 96.5 % peak conversion, with MC4 connectors and IP67 protection.

    Best for: A straightforward two-panel balcony where monitoring is not wanted and MC4 is what the panels have.

    ≈ €90

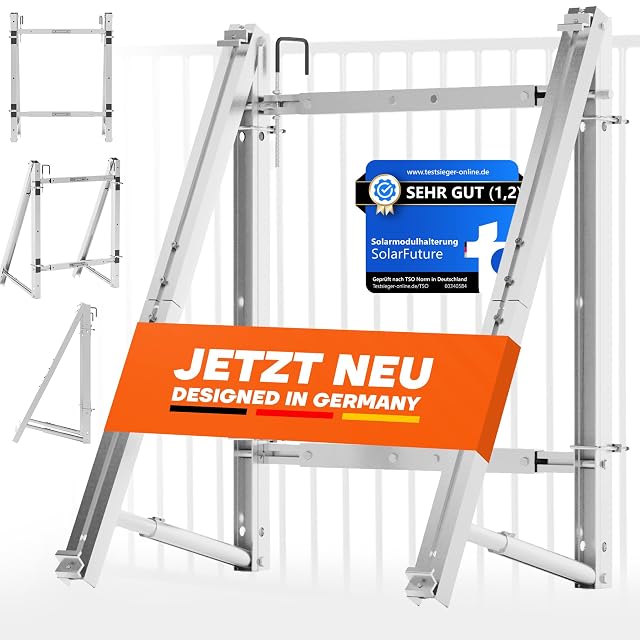
  3. SolarFuture Railing, six independent fixings, every contact point rubbered, anodised

    fixed directly to a balcony railing, purpose-built for it · width, height, tilt and bar length all adjustable · weight limits not published · adjustable tilt, range not published · anodised aluminium and stainless steel · SIX INDEPENDENT FIXINGS; every contact point rubbered, end caps over all screw ends · NO WIND LOAD PUBLISHED

    A balcony railing mount in anodised aluminium and stainless steel with six independent fixings, rubbered contact points and end caps over every screw end.

    Best for: A rented balcony whose railing must come back unmarked.

    ≈ €100

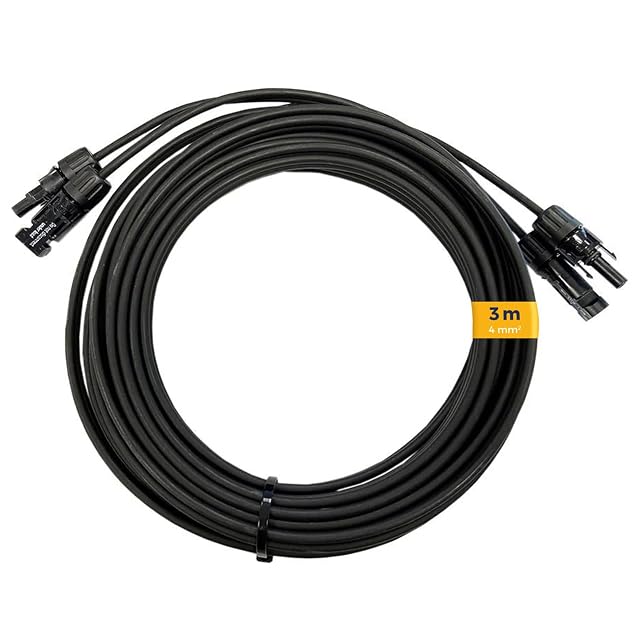
  4. Kleines Kraftwerk Pair of 3 m extensions, 4 mm², EN 50618, IP67, buriable

    3 m each · 4 mm² · MC4 fitted both ends · voltage drop not published · IP67 · a PAIR · EN 50618 and H1Z2Z2-K, −40 °C to +120 °C, short-circuit resistant to 200 °C for 5 s, buriable

    A pair of three-metre 4 mm² extension leads certified to EN 50618 and H1Z2Z2-K, rated IP67, buriable, and short-circuit resistant to 200 °C for five seconds.

    Best for: A garden run that has to go underground between a panel and a building.

    ≈ €16

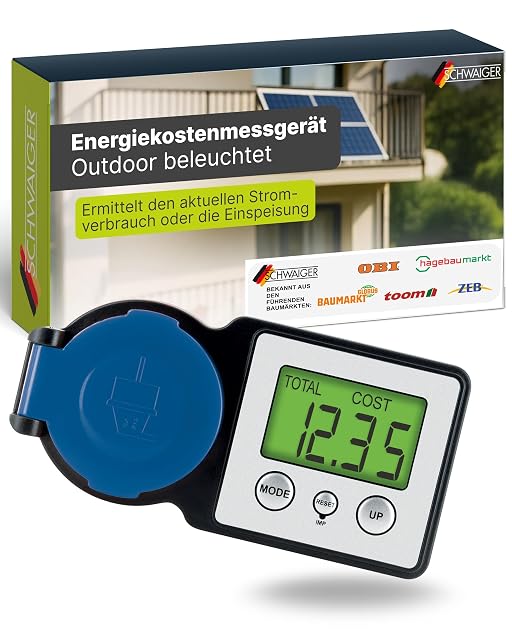
  5. SCHWAIGER Consumption AND export metering, 0.3–3680 W, IP44, backlit

    0.3 W to 3680 W · measures the smallest consumption from 0.3 W · 3680 W · consumption, FEED-IN, cost in euros and voltage in volts · memory retention not published · an adjustable kWh price calculating cost live · IP44, WEATHER-PROTECTED FOR OUTDOOR USE, backlit

    A plug-in meter measuring both consumption and feed-in from 0.3 W to 3680 W, with an adjustable kWh price, a backlit display and an IP44 case.

    Best for: Measuring what a balcony solar installation actually puts into the house.

    ≈ €20

Questions this guide gets asked

Do I need permission?

That depends entirely on where you live and who owns the building, and it is not a question a product page can answer. What is worth knowing before asking is the output figure, the mounting method and whether anything is drilled — those three are what a landlord or a network operator will ask about.

Kit or separate parts?

A kit removes the compatibility questions: the panels suit the inverter, the connectors match, and the cable is the right length. Separate parts let you choose each piece and cost less. For a first installation the kit is usually worth the premium, because the failure mode of getting it wrong is a roof full of parts that do not mate.

Where does the mount go in the order?

Third, and it is the one people buy first. The mount has to fit the panel and the railing, and the panel dimensions come from the kit. Buying a mount before knowing the module width is how a balcony ends up with a frame that will not take it.

A price quoted in the text of a PowerVerdict page dates from the day that page was written; the live figure beside each product is fetched while you read and replaces it.

The tool we use ourselves

Decided which one? Then do not overpay for it.

Power stations and solar kits are discounted over and over through the year, and a struck-through figure on its own says nothing whatever about what the same model was charged at four weeks ago. UniverTrack holds a week-by-week record for every retailer, so a reduction is measured against a price somebody actually paid rather than one written for the sale — and it says when the moment to buy has genuinely arrived.

Real price historyBuy-now alertsAI buying assistant
Try free for 14 days →
No commitment · Cancel in one click · 5 languages